Starting your own compost heap solves a few niggling issues like disposing of lawn mower clippings and other garden waste. Compost heaps also help you reduce food and even packaging waste that goes into your bulging wheelie bin.
What is compost?
Soil and compost are not the same thing. Your basic soil comprises ground up sand, silt and clay from the natural surface of the earth. It might also contain a small amount of organic matter and nutrients.
Compost is mostly created by people. It’s a heady mix of decaying organic materials, broken down by oxygen, water, bacteria and detrivores (worms, slugs, snails etc). It’s rich in nutrients that helps plants grow.
What’s a compost heap?
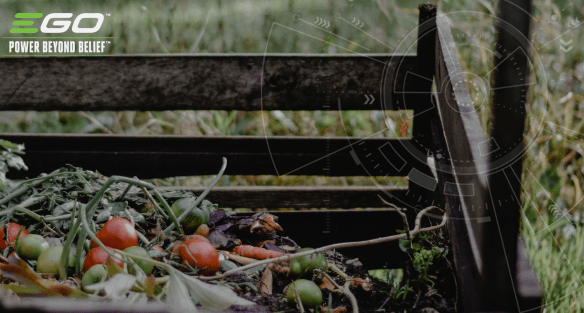
This is literally a heap of decaying organic matter somewhere in your garden - sheltered against extremes of temperature and well-drained. They are usually contained slightly by a wooden perimeter but otherwise are uncovered to the elements.
Many people prefer the speed and efficiency of a compost bin. They retain warmth and moisture and will turn organic matter into compost more quickly. A good compost bin should shelter the matter from rain and have drainage holes. They also need to facilitate air flow and can be open or closed at the bottom.
Step-by-step building a compost heap
- Locate a good site for your compost heap or bin - fairly sheltered, in partial shade, with good drainage.
- Add some ready-made compost to the bottom of a closed-bottom bin.
- A layer of twigs and straw provides great drainage and airflow. A few inches should do it.
- Start adding layers of matter, alternating between brown waste (woody, tough matter) and green (leafy, food, grass cuttings).
- If you have a closed compost bin, you should introduce worms, who will aerate and process the organic matter. You can buy various worm types specifically suitable for composting. You can add extra worms to your garden too.
Maintaining your compost heap
- Turn regularly with a pitchfork to aerate and mix
- Don’t layer new additions, fork them in well
- Let the rain keep the heap/bin moist or water it (don’t soak)
Harvesting your compost
Homemade compost can take between six months and two years to mature. You’ll be able to tell if it’s ready to use when it’s become a rich dark brown with a crumbly texture. It should smell damp but not unpleasant.
You might find that, because you’ve been adding to your heap or bin over time, that you have some un-rotted lumps and clumps. Simply sort these back into your heap to mature.
What can go on a compost heap?
The beauty of a compost heap is that it’s a short journey between your lawn and your compost heap. No plant bits in the back of your car. No queue at the tip. No emissions.
- Grass clippings
- Fallen leaves
- Broken/shredded woody cuttings
- Plants, stalks and stems
Also, it’s probably not too far from your kitchen either:
- Paper and cardboard
- Egg boxes and eggshells
- Fruit and vegetables
- Tea (biodegradable bags)
- Uncooked kitchen waste
Avoid these ingredients
- No meat or bones
- No dairy products
- No diseased plants
- No poo from meat-eaters (cats, dogs, humans)
- No seed heads
Tips
- Start now - in a few months, you’ll be glad you did.
- Smaller bins (less than 1m all round) generally don’t yield results as good as larger bins or heaps.
- Don’t add manure from meat-eaters (like cats and dogs).
- At times you’ll need to cover your heap against the wet and cold. You can use wood, plastic sheeting and carpet scraps for this.
- Start with a roughly a half-and-half balance between green and brown organic matter and tweak it - add more browns if your compost is too wet, more greens if it's too dry.
- Airflow can be enhanced by adding worms and forking. However, you can also add layers of cardboard.
- Be wary of adding too many grass clippings as they might upset the green balance and become slimy. Add in thin layers.
- Remember to keep the heap moist in dry weather – turning will give you an opportunity to assess the moisture level.
- Break cuttings from your hedge, shrubs and trees into manageable portions with your hedge trimmer, chain saw or pole saw.